How to Apply a Phone Skin Wrap Bubble-Free (Step-by-Step)
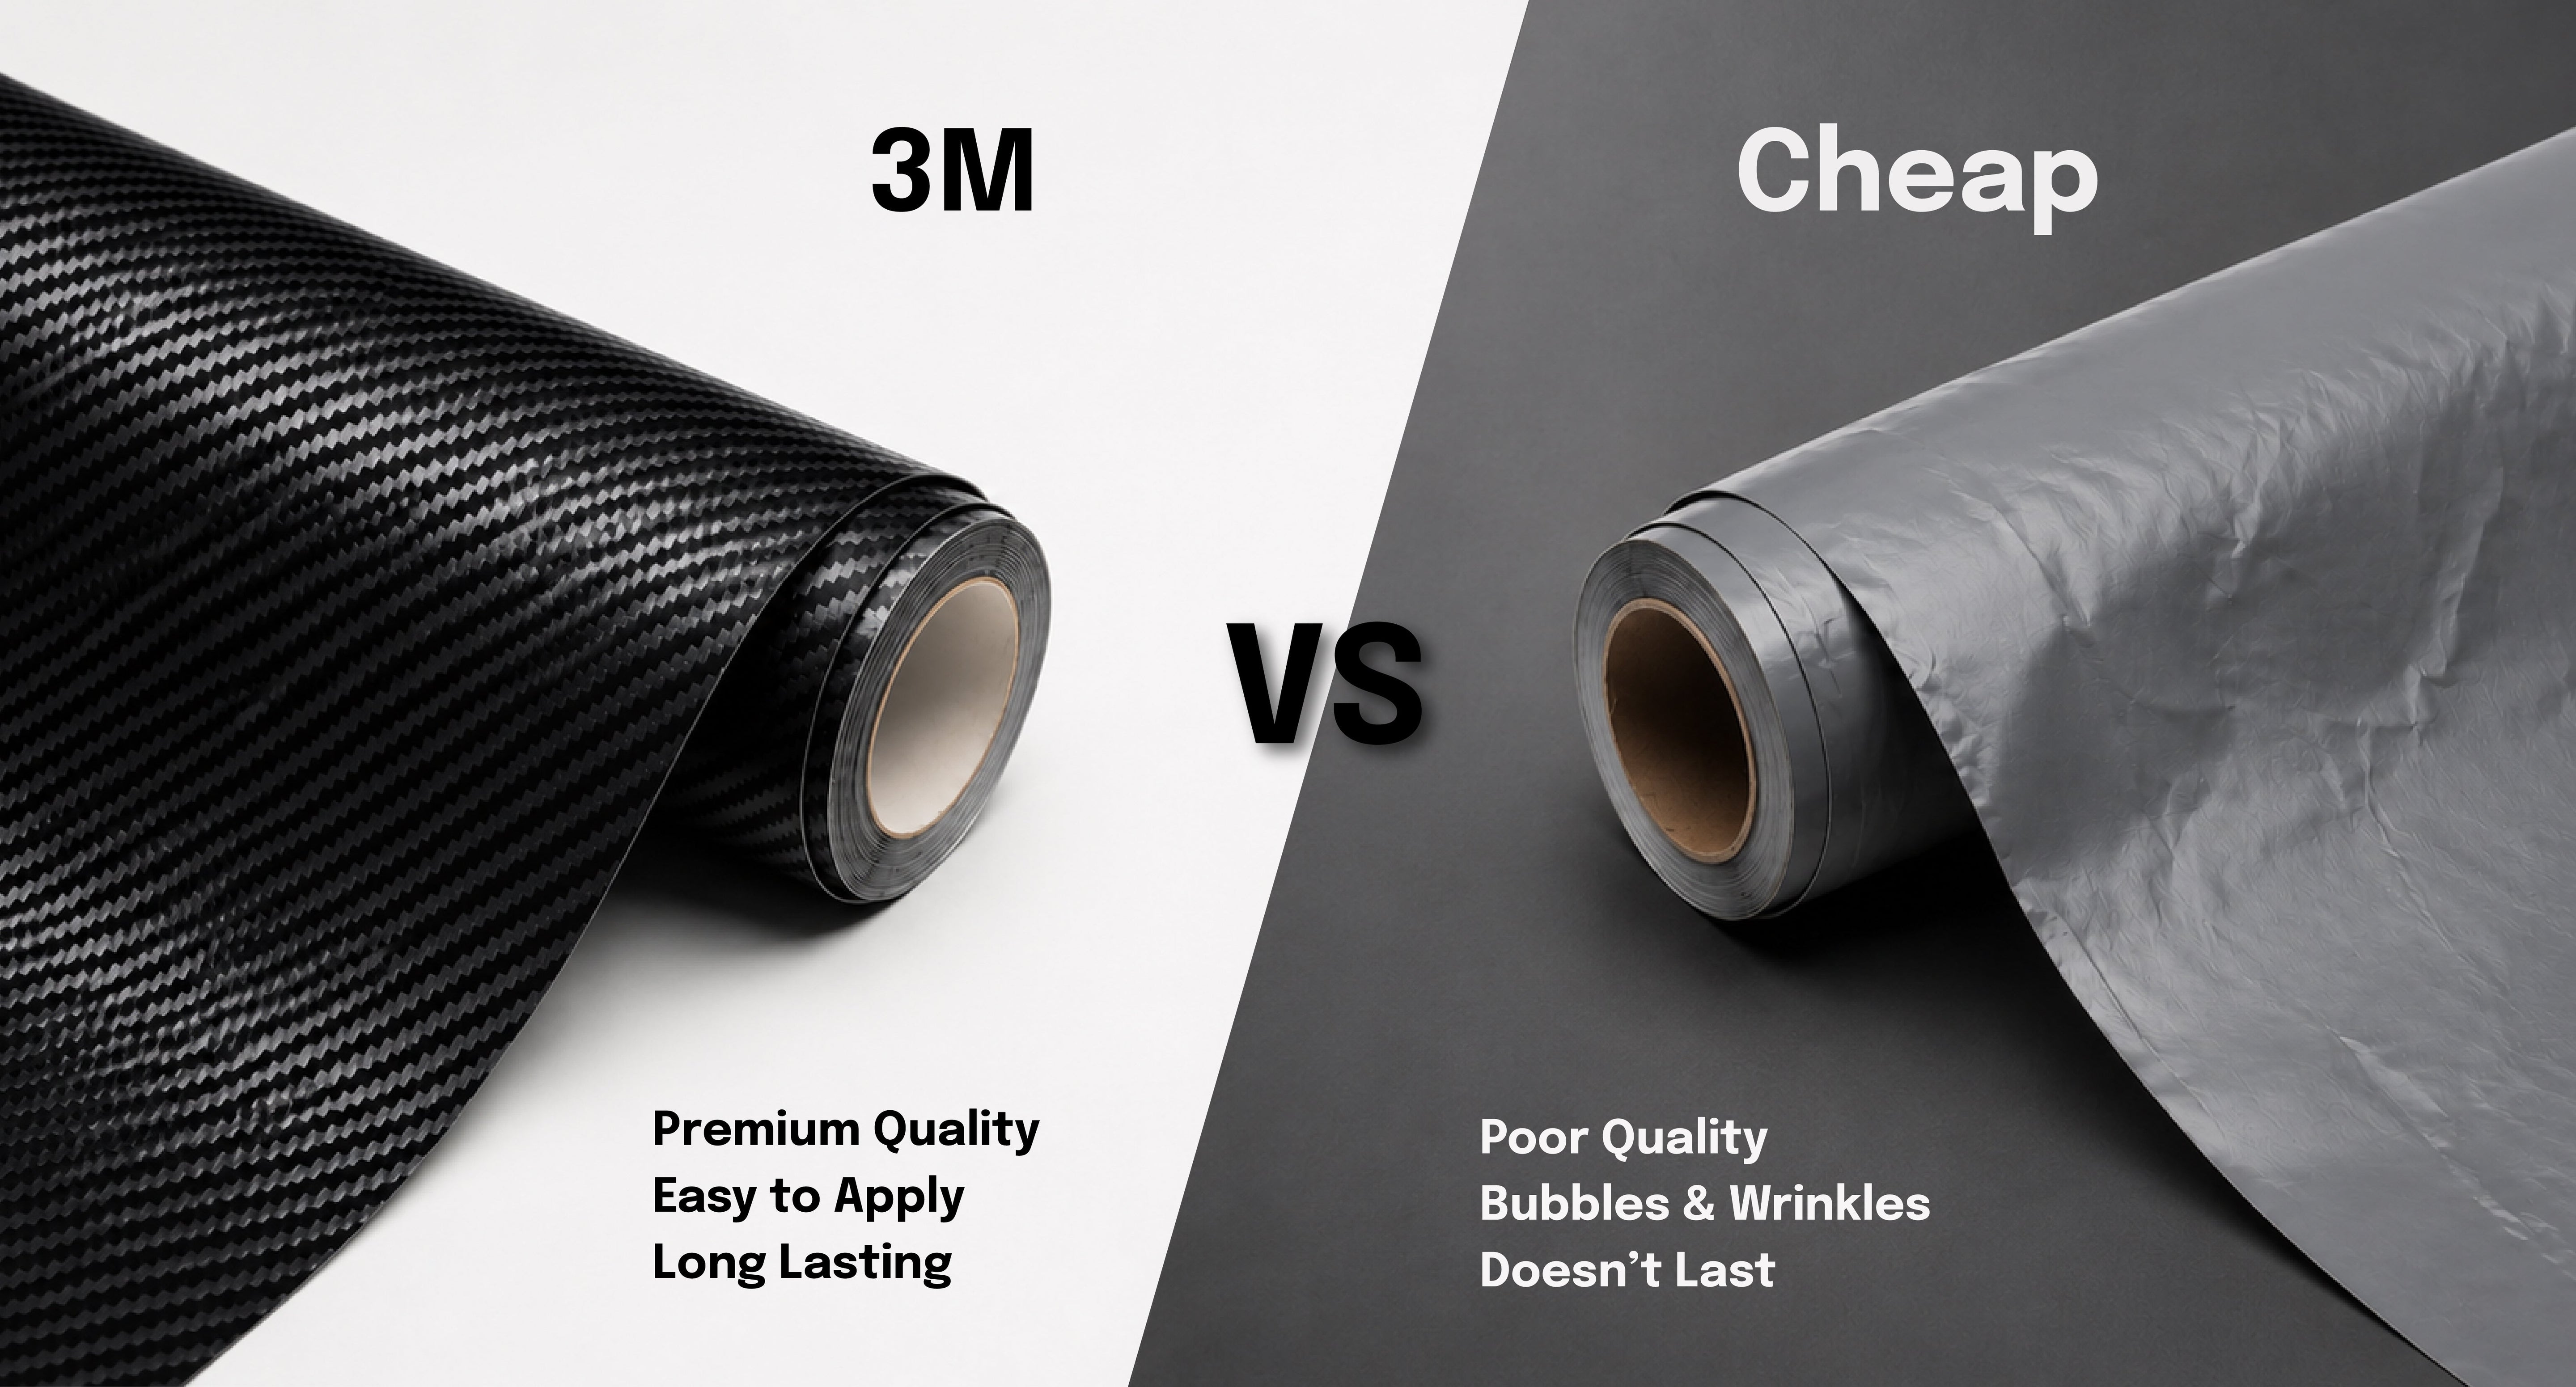
One of the easiest ways to customize your device and protect it from everyday scratches is by applying a phone skin. But if you apply it too quickly or on a dusty surface, you can end up with bubbles, wrinkles, or lifting edges.
The good news is that a bubble-free application is easy once you know the right technique. This guide walks you through the whole process so you get a smooth, professional-looking finish with your Proskinz skin.

What You'll Need
Before you start, make sure you have:
- Your Proskinz skin kit
- A clean, dust-free work area
- A microfiber cloth (included)
- Alcohol wipes or a screen-safe cleaner
- A bank card or squeegee (a Proskinz squeegee, if you have one, works especially well)
- A hair dryer or other gentle heat source (optional)
Having the right tools on hand makes the whole process much easier.

Step 1: Clean Your Phone Thoroughly
A clean surface is the secret to a bubble-free application. Use an alcohol wipe or screen-safe cleaner to remove:
- Dust
- Fingerprints
- Oil and grease
- Dirt around the edges and camera area
Once cleaned, wipe the phone with a microfiber cloth and let it dry completely.
Tip: Even a tiny speck of dust can cause a visible bubble under the skin.

Step 2: Align the Skin Before Applying
Place the skin on your phone and check the alignment before peeling off the release paper completely. Pay close attention to:
- Camera cut-outs
- Buttons and ports
- Logo placement
- Top and bottom edges
Start by lining up one key reference point, usually the camera module, then work outward from there. Spending an extra minute on alignment now saves you from having to reposition the skin later.

Step 3: Apply the Skin Slowly
Peel back only a small section of the release paper at a time and apply the skin gradually. For the best results:
-
Start from the center
-
Smooth the skin outward
-
Work in small sections
-
Avoid pressing the entire skin down at once
Applying it slowly prevents air from getting trapped underneath.

Step 4: Remove Any Air Bubbles
If small bubbles appear, don't worry — they're usually easy to fix. Use a bank card or squeegee and gently push the bubble toward the nearest edge. In most cases, it will disappear within a few seconds. The flexible adhesive used on Proskinz skins is designed to let out trapped air easily, which makes this step quick and hassle-free.

Step 5: Use Gentle Heat on Curved Areas
For curved edges and corners, apply a little heat with a hair dryer on a low setting. Heat helps the skin:
- Become more flexible
- Fit around curves more easily
- Stick better to edges and corners
Warm the area gently, then press the edges down firmly for a clean finish.
Important: Use low heat only — too much can damage the skin or your device. Proskinz skins are made from a stretch-friendly vinyl that responds well to gentle heat, making it easier to wrap curved edges cleanly.
Step 6: Final Check
Once the skin is fully applied, inspect the entire device. Make sure:
- All edges are firmly pressed down
- The camera area is properly aligned
- There are no remaining bubbles or wrinkles
- Corners are fully secured
Common Mistakes to Avoid
To get the best results, steer clear of these common mistakes:
- Applying the skin on a dirty surface
- Rushing the installation
- Using paper towels that leave lint behind
- Ignoring the edges after installation
- Applying excessive heat
A little patience goes a long way toward a professional finish.
Can You Reapply a Phone Skin?
Yes — but only during installation or shortly after applying it. Most high-quality skins, including Proskinz skins, can be lifted and carefully repositioned if needed thanks to their reliable adhesive. However, after long-term use the adhesive weakens, and if the skin is removed roughly or stretched, it may not stick properly again. For the best results, avoid repeatedly removing and reapplying it.
How to Clean and Care for Your Proskinz Skin
Wipe your vinyl skin with a microfiber cloth to remove dust and fingerprints. For tougher dirt or stains, use a little alcohol or cleaning spray on the cloth and gently wipe the surface. Avoid sharp objects and excessive heat to keep your skin looking new. With a little care, a Proskinz skin can keep your phone looking sharp for a long time.
Final Thoughts
Applying a phone skin without bubbles is easier than it looks. The key is to work slowly, keep your device clean, and smooth the skin down gradually instead of rushing.
With the right technique and a little patience, you can achieve a perfectly aligned, bubble-free finish that looks professionally installed and keeps your phone stylish and protected. Whichever design you choose, a Proskinz skin is built to make that finish easy to get right.
FAQs
-
How do bubbles form under a phone skin?
Bubbles usually happen because of dust, trapped air, or a rushed installation. -
Can I apply a phone skin by myself?
Yes, most phone skins are easy to install at home with a little patience, and Proskinz skins come with clear alignment cues that make DIY application straightforward. -
Can I reapply a phone skin if it's misaligned?
Yes, you can carefully lift and reposition it during installation. -
Is a hair dryer necessary for applying a phone skin?
No, but gentle heat helps the skin fit curved edges better.